


matttargett4
Member
perhaps ill get the wtfs out of the way first
you cant get up the steps with the drill folded up? wtf
i have to take the air pipes off and hang a tray on a sky hook to calibrate it, then realise half the seed jumped out of the tray? wtf
the linkage brackets arent standard width wtf?
the following harrow? wtf
anyway, im a new owner, weve drilled osr, grass and cover crops and been happy enough but conditions are now getting tricky and like everything thats when you need to know what youre doing.
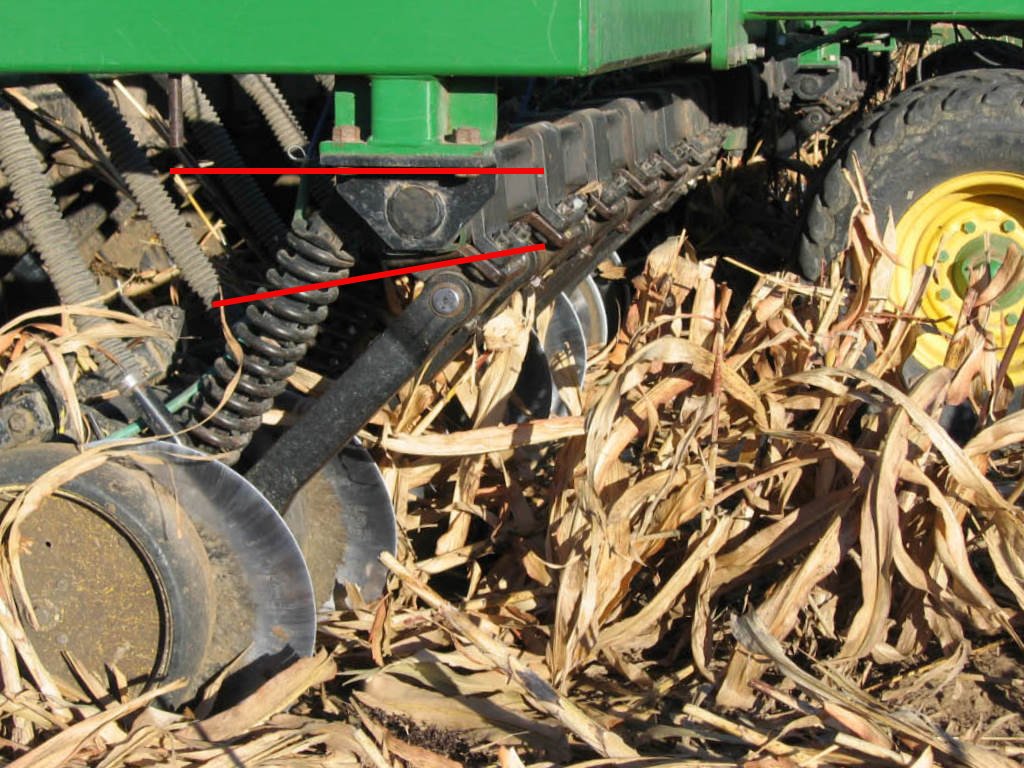
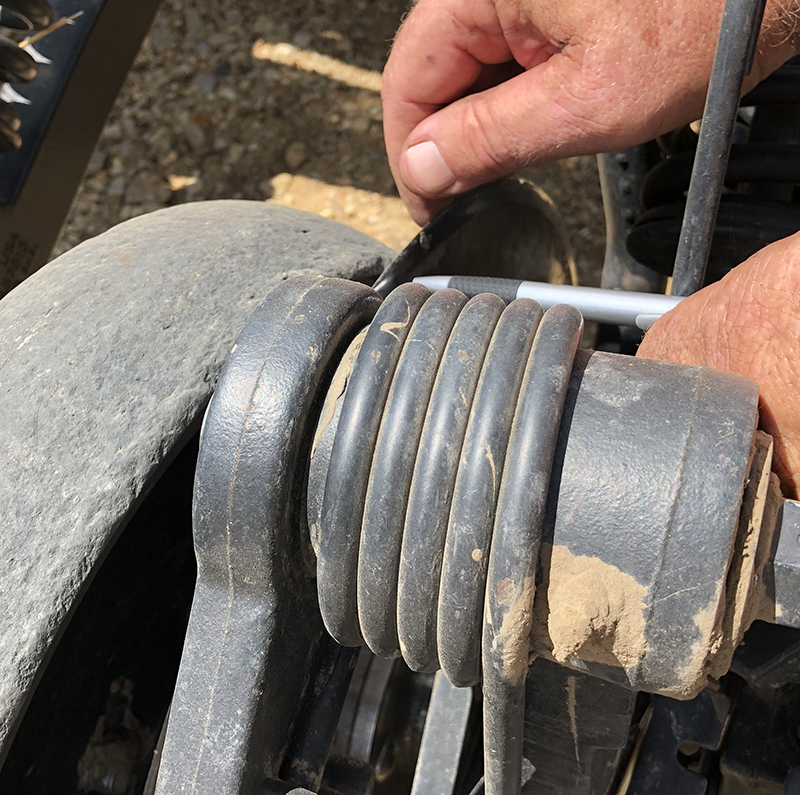
so atm drilling oats, vetch and mustard depth is in second hole, seed firming wheel on min pressure and closing wheel on max. seed ends up about 40mm deep, im thinking the firming wheel must be pushing it through the bottom of the trench?
at this depth the seed boot is only in thr ground some of the time, im concerned this isnt really right so will go deeper for cereal drilling, is that right?
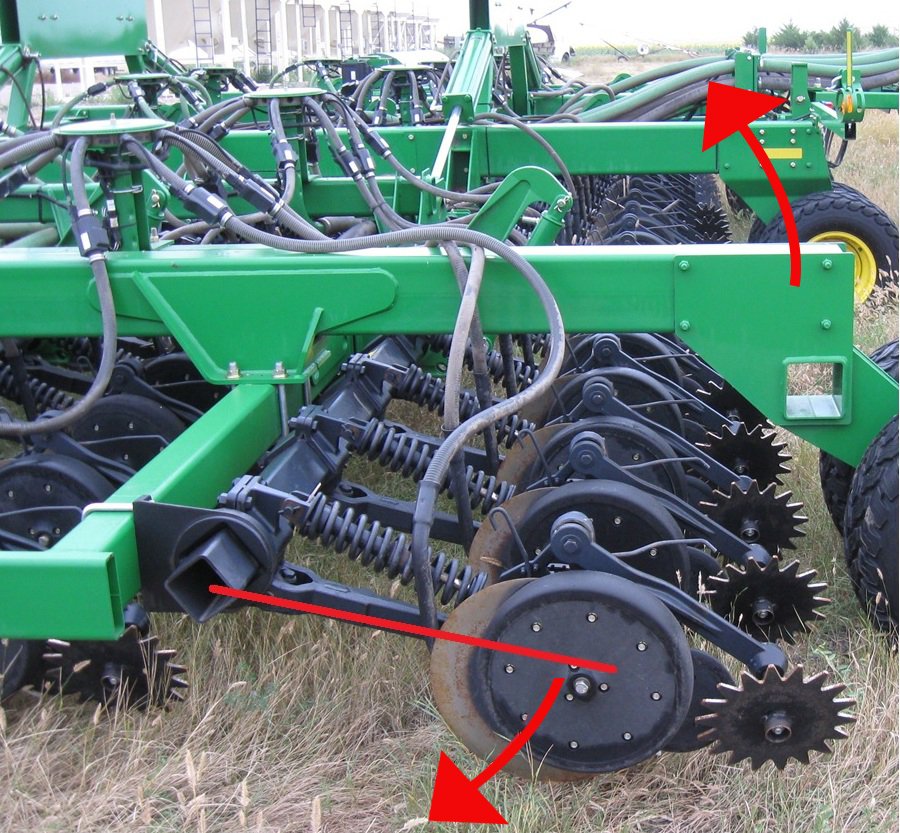
we finished some cc into maize stubble in the rain and found the first issue was we couldnt close the slots behind the tractor, was also starting to pick up on the guage wheels, i get what will said elsewhere about mauling stuff in, with rapid that would stand water but it looks fine aprt from a bit slotty.
i also potentially have some cc which is welly boot high to plant, can i fo this when its wetter and hope the green carries me or is that dangerous?
im also interested to hear about section control settings if anybody has any? im finding the seed slow to start and stop?
thanks
you cant get up the steps with the drill folded up? wtf
i have to take the air pipes off and hang a tray on a sky hook to calibrate it, then realise half the seed jumped out of the tray? wtf
the linkage brackets arent standard width wtf?
the following harrow? wtf
anyway, im a new owner, weve drilled osr, grass and cover crops and been happy enough but conditions are now getting tricky and like everything thats when you need to know what youre doing.
so atm drilling oats, vetch and mustard depth is in second hole, seed firming wheel on min pressure and closing wheel on max. seed ends up about 40mm deep, im thinking the firming wheel must be pushing it through the bottom of the trench?
at this depth the seed boot is only in thr ground some of the time, im concerned this isnt really right so will go deeper for cereal drilling, is that right?
we finished some cc into maize stubble in the rain and found the first issue was we couldnt close the slots behind the tractor, was also starting to pick up on the guage wheels, i get what will said elsewhere about mauling stuff in, with rapid that would stand water but it looks fine aprt from a bit slotty.
i also potentially have some cc which is welly boot high to plant, can i fo this when its wetter and hope the green carries me or is that dangerous?
im also interested to hear about section control settings if anybody has any? im finding the seed slow to start and stop?
thanks


")


